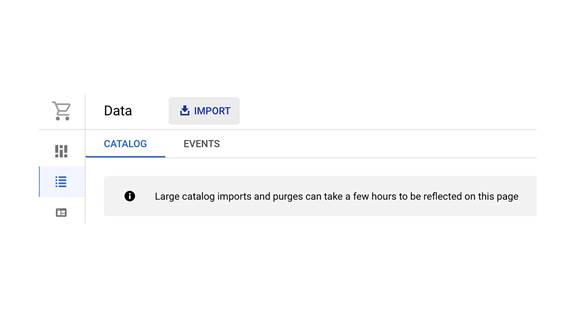
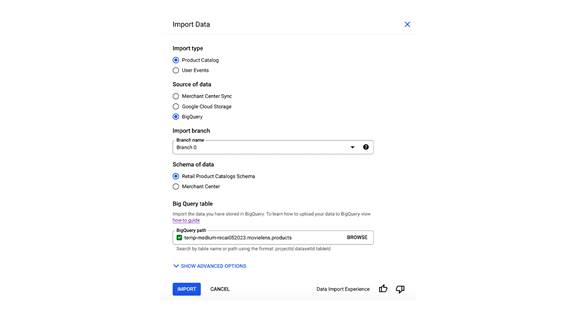
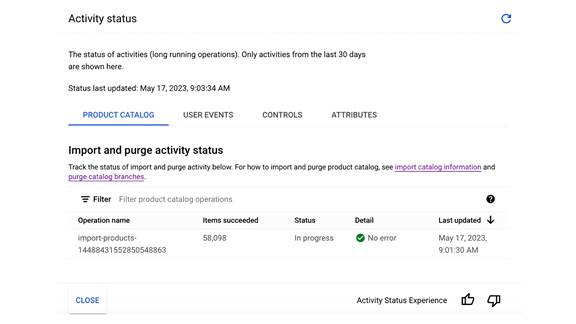
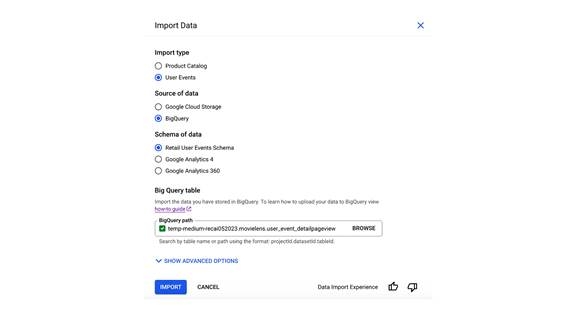
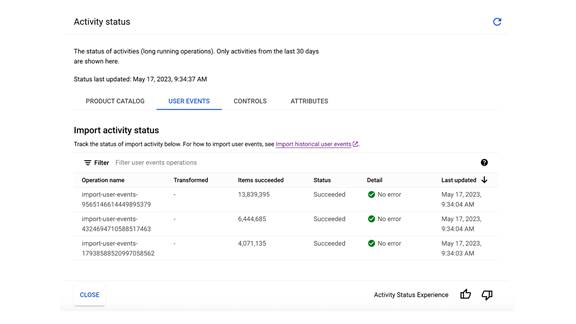
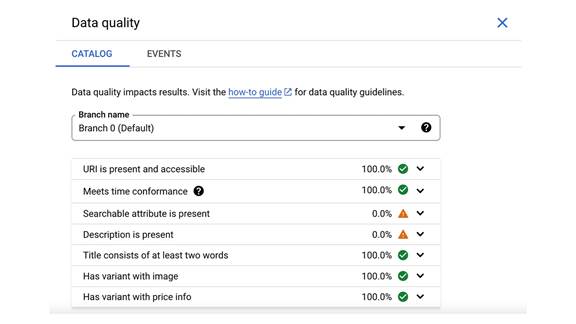
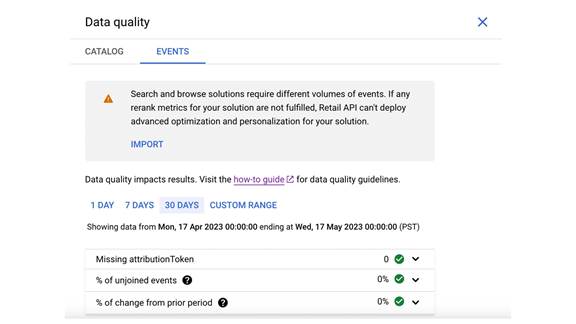
Using an open dataset of movie ratings from MovieLens, we’ll construct a product catalog of movie titles and user-event data consisting of over 25 million movie ratings to simulate customer behavior on an ecommerce site.
1. Clone the quickstart Github repo
I’ve created a Github repo that will do most of the heavy lifting so you can focus on the fun stuff in the Google Cloud Console;). To start, you’ll need a terminal with git and the Google Cloud SDK installed. The Google Cloud Shell is a great place to run these commands since both git and the Cloud SDK are already installed!
The full explanation can be found here:
https://github.com/cloud-jake/recai-moviedb
Otherwise, let’s get started by cloning the repo.
git clone https://github.com/cloud-jake/recai-moviedb.git
This will create a new folder with the quickstart code inside. CD into the folder.
cd recai-moviedb
2. Setup variables
Now that you are in the recai-moviedb folder, list the files by running the ls command.
$ ls -n
-rwxr-xr-x 1 1000 1000 632 May 17 01:33 00-project-setup.sht
-rwxr-xr-x 1 1000 1000 1024 May 17 01:33 01-prepare-dataset.sh
-rwxr-xr-x 1 1000 1000 3396 May 17 01:33 02-create-views.sh
-rwxr-xr-x 1 1000 1000 1348 May 17 01:33 98-import-retail-data.sh
-rwxr-xr-x 1 1000 1000 878 May 17 01:33 99-create-bq-tables.sh
-rw-r--r-- 1 1000 1000 982 May 17 01:33 README.md
drwxr-xr-x 2 1000 1000 4096 May 17 01:33 schema
-rw-r--r-- 1 1000 1000 184 May 17 01:33 variables.inc
Notice a file called variables.inc. We’ll edit the file to update the following variables that will be needed by the quickstart scripts:
# Name of project to create
PROJECT=
# Billing account ID to attach to project
BILLING_ACCOUNT=
# Location and Region
LOCATION=US
REGION=us-central1
PROJECT — the name that you will give to your project. Make sure that this is globally unique and adheres to the Google Cloud project naming conventions.
BILLING_ACCOUNT — an existing billing account ID in the format of 012345–678910-ABCDEF
Optionally, update the LOCATION and REGION to match your locale. These parameters are used for Bigquery and Cloud Storage bucket locations.
3. Run the quickstart scripts
Now that you’ve set the variables, you are ready to run the quickstart scripts. Run the scripts in order, one by one, and take note of any error messages or output. Only the following scripts are required:
00-project-setup.sh
01-prepare-dataset.sh
02-create-views.sh
The remaining scripts provide sample code for scheduling the data import jobs (98-import-retail-data.sh) and creating the template Bigquery tables using the Retail User Event schema (99-create-bq-tables.sh).v
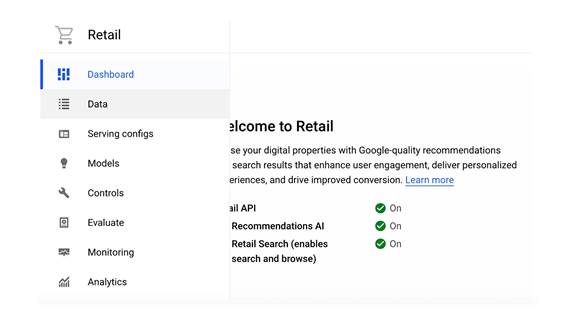
Congrats! You have just created a basic Discovery AI foundation. Now it’s time to head over to the Cloud Console to load data and test drive Search and Recommendations AI!
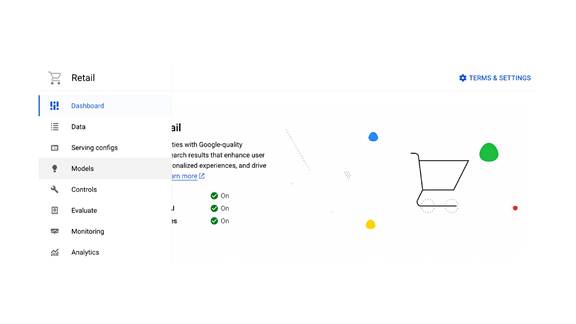
4. Access the Discovery AI Cloud Console
To access the Discovery AI Cloud Console, open your web browser to:
https://console.cloud.google.com/ai/retail
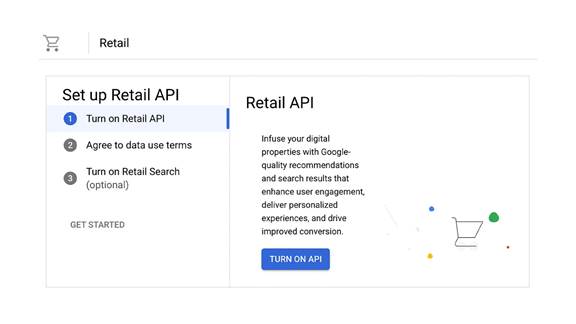
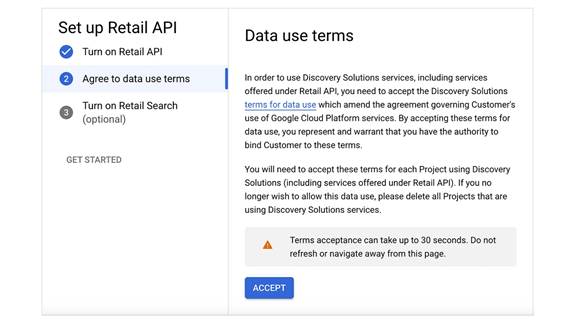
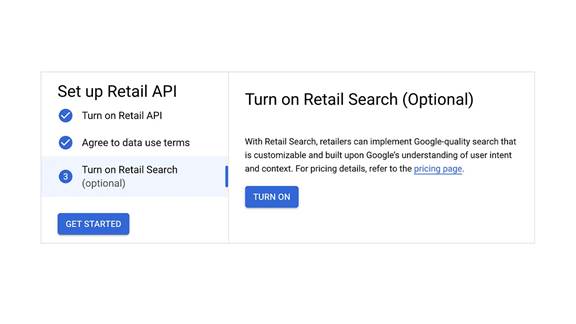
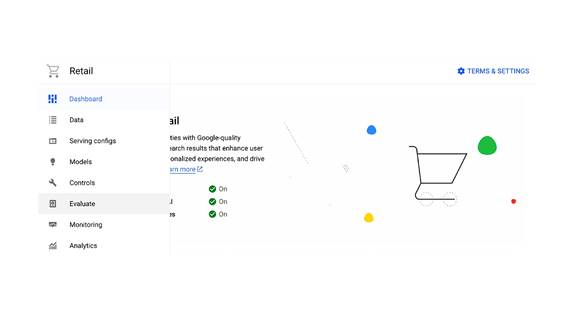
The first time you access the console, you’ll need to activate the Retail API and click through the Data Use Terms.
Turn on the Retail API

